

Translate this page into:
Configured ligature wire for quick conventional and overtie lingual archwire ligations
This article was originally published by Wolters Kluwer and was migrated to Scientific Scholar after the change of Publisher.
Abstract
Ligation of archwire to lingual bracket is a tedious and time-consuming process. Any excessive clinical working time on a lingually treated patient has a direct bearing on pain and discomfort experienced due to prolonged mouth opening. An aid to quick and efficient ligation is described below.
Keywords
Conventional ligation
overtie ligation
pigtail

CONCEPT BEHIND CONFIGURED LIGATURE
Configured ligature wire is aimed at easy engagement of bracket hook, followed by radial spanning toward mesial and distal edges of the bracket entrapping the archwire for uninterrupted ligation.
The same configured ligature could be used for both purposes, namely, the traditional/convention ligation on premolar brackets to permit sliding and overtie ligation on anteriors for torque control.
DESIGN AND FABRICATION STEPS
Configured ligature requires a ligature forming plier [Figure 1].
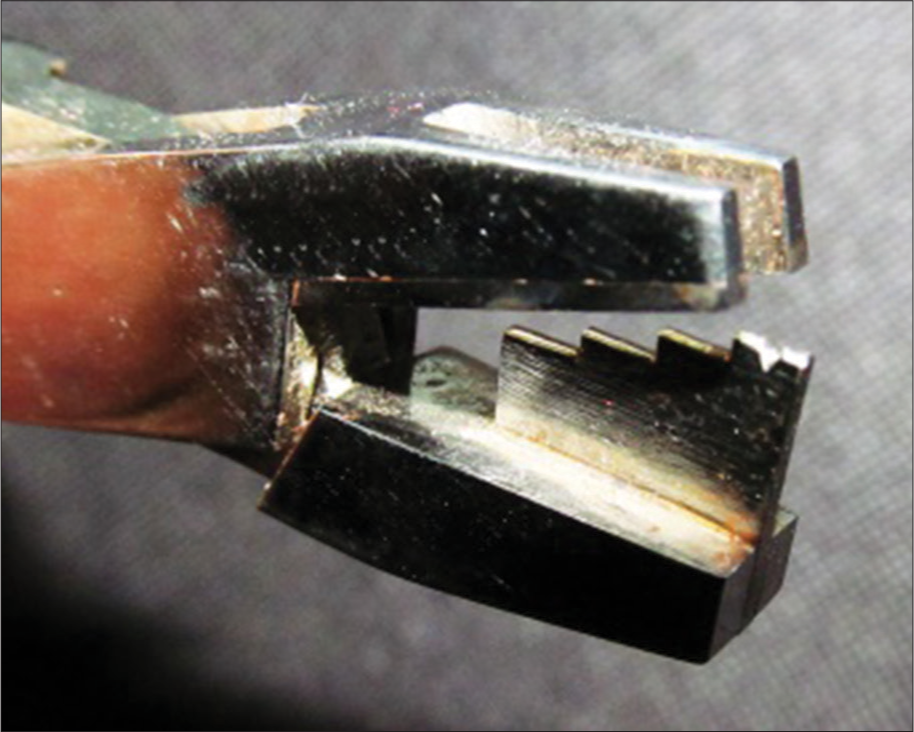
- Ligature forming plier
Fabrication step 1: Cut a 2-inch length of ligature wire from the ligature spool [Figure 2]
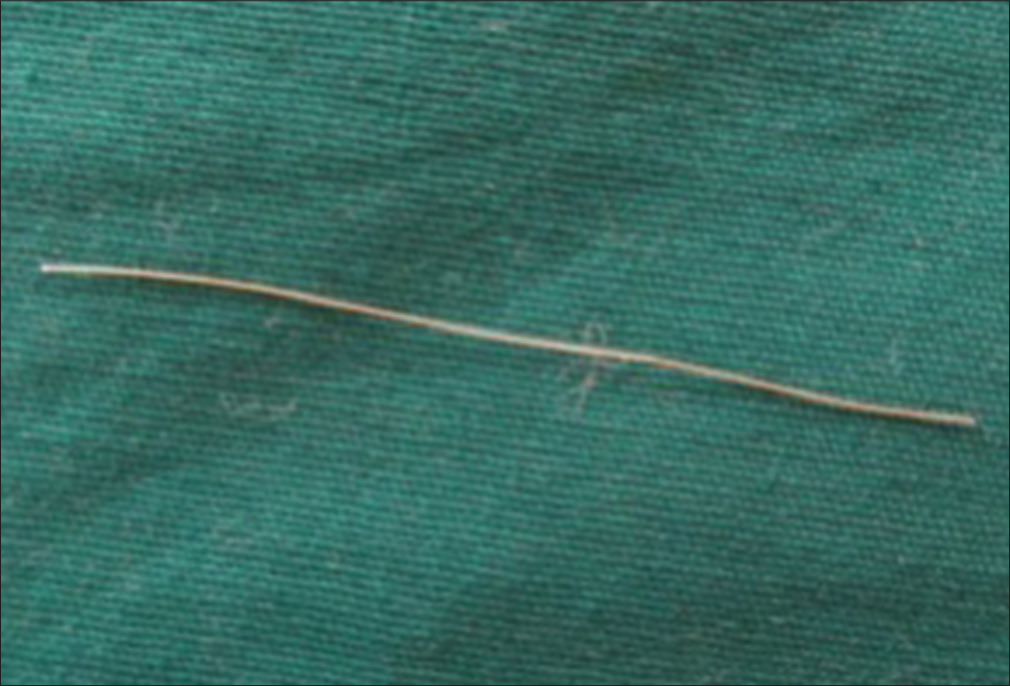 Figure 2
- Fabrication step 1
Fabrication step 2: Using a ligature forming plier, derive a flat configuration with a pointed apex which essentially is the silhouette of the plier beaks [Figure 3a and b]
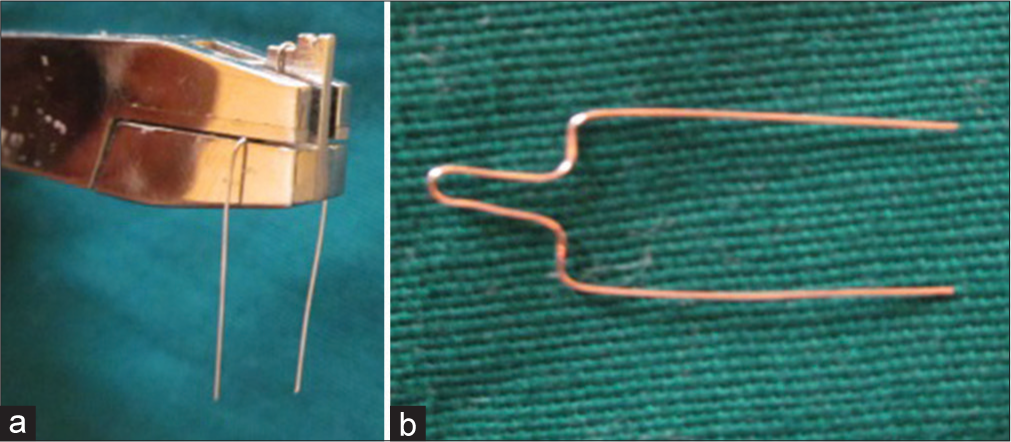 Figure 3
- (a and b) Fabrication step 2
Fabrication step 3: Push the free ends of the ligature wire upward and backward close to plier hinge axis raising a 5 mm pointed apex perpendicular to the free end arms [Figure 4a and b]
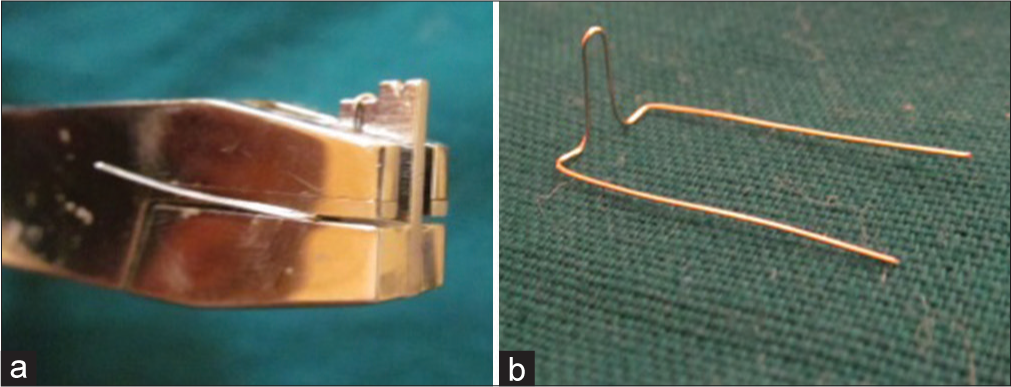 Figure 4
- (a and b) Fabrication step 3
Fabrication step 4: Grasp the middle of the pointed apex with a Mathews and bend the closed end of the apex backward to parallel the free end arms. Configured ligature wire is now ready [Figure 5].
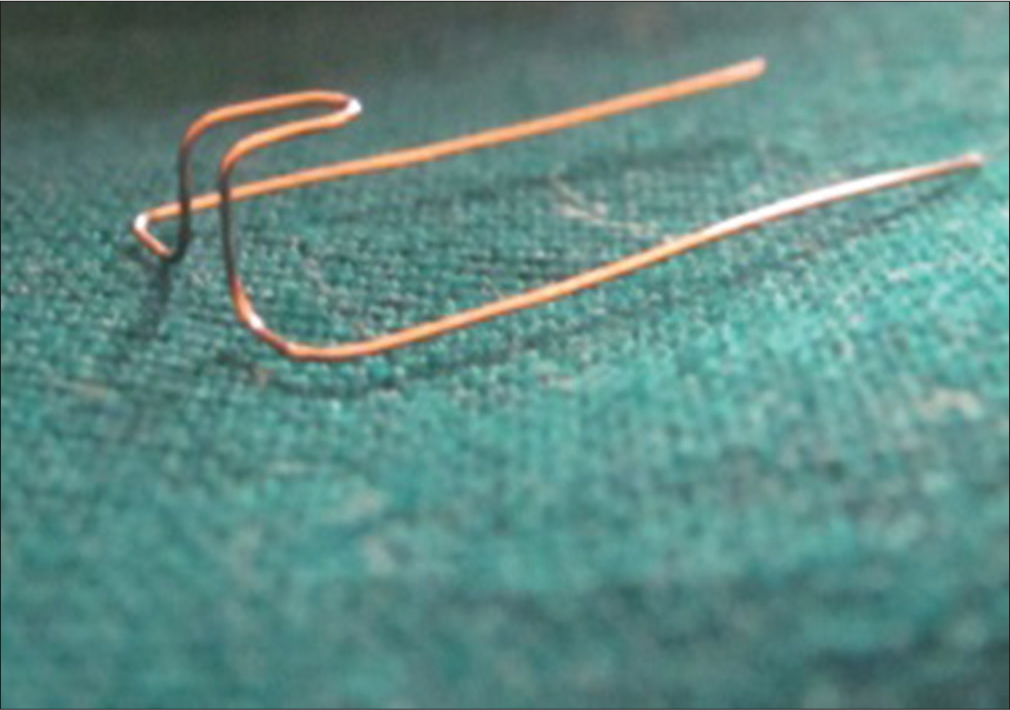 Figure 5
- Fabrication step 4
METHOD OF LIGATION
Conventional ligation starts at the gingival hook above the wire, and overtie ligation starts at the occlusal hook below the wire.
Ligation step 1: Engage the gingival hook for conventional ligation and occlusal hook for double overtie ligation [Figures 6a and b]
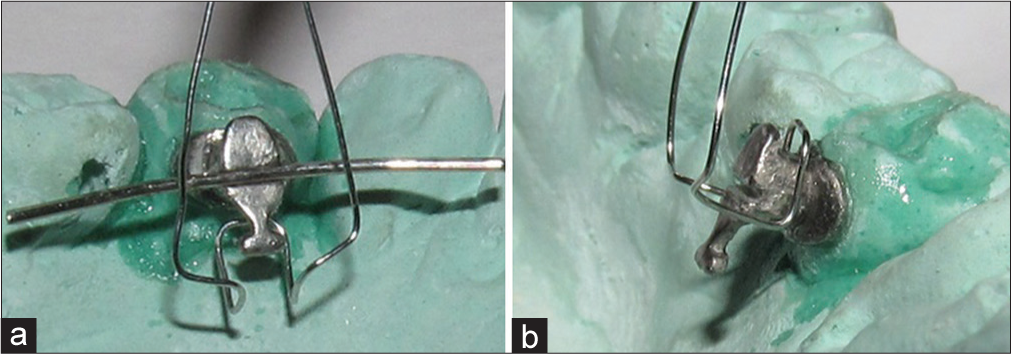 Figure 6
- (a) Conventional ligation - engage gingival hook. (b) Double overtie – engage occlusal hook
Ligation step 2: Entrap the archwire. Pull the free end arms with Mathews oculofacially. The engaged apex spans radially outward moving past the mesial and distal edges of the bracket to entrap the archwire [Figure 7a and b]
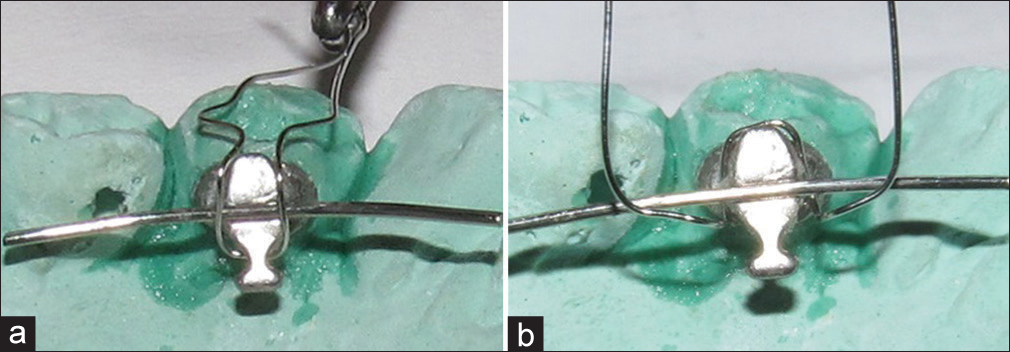 Figure 7
- (a) Conventional ligation - entrap archwire. (b) Double overtie – entrap archwire
Ligation step 3: Complete the ligation. Twist continuously the free end arms to finally engage the upper hook of the bracket. Place the pigtail toward the side with greater activation [Figure 8a and b].
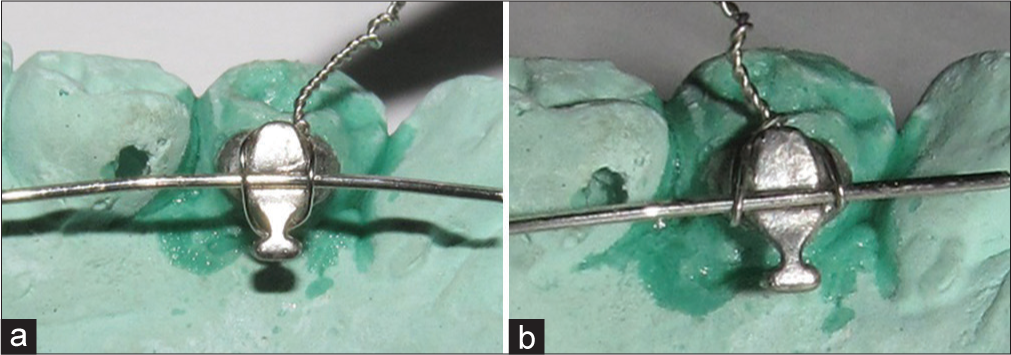 Figure 8
- (a) Conventional ligation - complete the ligation. (b) Double overtie – complete the ligation
CONFIGURED LIGATURE ADVANTAGES
This approach saves ligation time in lingual patients.
It can be used for conventional as well as double overtie ligations.
This provides easy initial engagement of bracket hook with direct and indirect vision.
Directing the pigtail toward intended active side secures archwire ligation.
Radially outward spanning of the apex of the ligature wire pushes archwire into the bracket slot.
-
This approach eases and encourages clinicians to use more of ligature wire than elastic modules, thus promotes
Better oral hygiene maintenance
Enduring ligation, eliminating need of elastomeric overtie replacements during periods of en masse retraction.
Financial support and sponsorship
Nil.
Conflicts of interest
There are no conflicts of interest.